There are many tools in PS that can be used for keying. You can use different keying methods depending. The next seven keying methods are shared. For newcomers to PS, they are very useful and efficient. These seven keying methods are from easy to difficult. You can learn step by step.

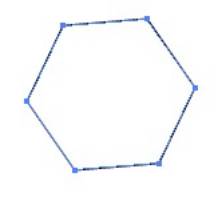
The first method: The lasso tool. For cases where there is a complex background, but the image in the picture is angular. We can use the polygon lasso tool to pick out the desired shape. In some cases the Pen tool can also be used to pick out the shape.
The second method: The magic wand tool. For solid color backgrounds, the image in the picture is angular. We can use the Magic Wand tool to pick out the desired graphics. In some cases, the Magic Eraser tool can also remove the solid color background.
The third method: The Magic Eraser tool. For solid color backgrounds, the Magic Eraser tool will automatically recognize the background for erasing. Thereby the Magic Eraser tool is very similar to the Magic Wand tool.
The fourth method: Pen tool. For background color is too close, keying requirements are high. And the edges need to be clearer image. We choose the pen tool. The pen tool is very much used in PS. Especially when Taobao artists key product images. The advantage of the pen tool for keying is clear and clean, without distortion.
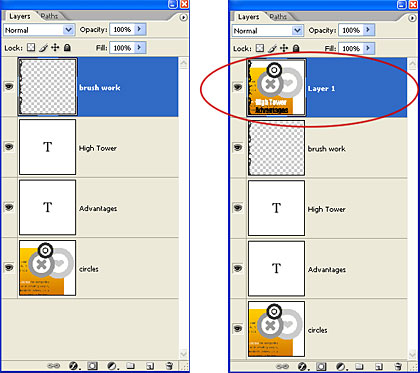
The fifth method: Layer mask. For images with complex backgrounds, you can create a layer mask. And you should choose the soft edge brush. Foreground view is black, black is hidden. White for show. Because we want a specific shape, do not want the background. At this point, use black brush for foreground color. Hide the background. Then just use the brush to erase the excess background.
The sixth method: channel keying. In PS, the image in the channel is displayed in black, white and gray. white in the Alpha channel represents the selection. Black represents the non-selected area. The gray color represents the degree of selection, that is, the translucent area. The principle of channel keying is by cleverly handling the relationship between black, white and gray in the Alpha channel. It turns the areas we need into white. The unwanted areas become black. Then we get a selection. Go back to the layer and duplicate a selection section. That's how you get the desired image.
This keying method is suitable for keying in human hair and translucent objects.
The seventh method: Adjusting the edges. Adjusting the edges allows you to quickly key in hair-like images. It is very smart and nice to use. You should use the Quick Selection tool to get a selection of the person. Then refine and adjust the selection. The "Adjust Radius" and "Erase Adjustment" tools allow you to feather and expand the selection and then refine it again. You will get the perfect image of the person after keying.
Keying is an essential skill. No matter which keying method is used. As long as you can get the exact object you need out, you will be able to do so. When keying, you need to be patient. Don't expect perfect results from a single keying operation. Use a combination of keying tools to get twice the result with half the effort. Any keying method has its own scope of use and characteristics. When keying you must first analyze the image. Then you can choose the quickest keying method.
If you think the above keying tutorials are useful to you. Then learn it quickly! All of you could be an excellent retouching master!


